

Enjoy this post of me bringing myself back into some of the basics to better help me keep my solutions architecture reflex fresh (ha)!
Use Case: I need a static page to host a logout page when users leave the SSO experience to land them to a custom-tailored page where I can provide the right guidance and support language related to the app.
So, where to begin?
First, here are some prerequisites to success:
- Have an active Azure Portal subscription
- Have a Github account and joined to an organization
- Download Visual Studio Code
- (extras) Github Desktop
- (extras) Git
Next, let’s pull down from a basic starter code kit to save some time on creating it from scratch:
https://github.com/new?template_name=vanilla-basic&template_owner=staticwebdev
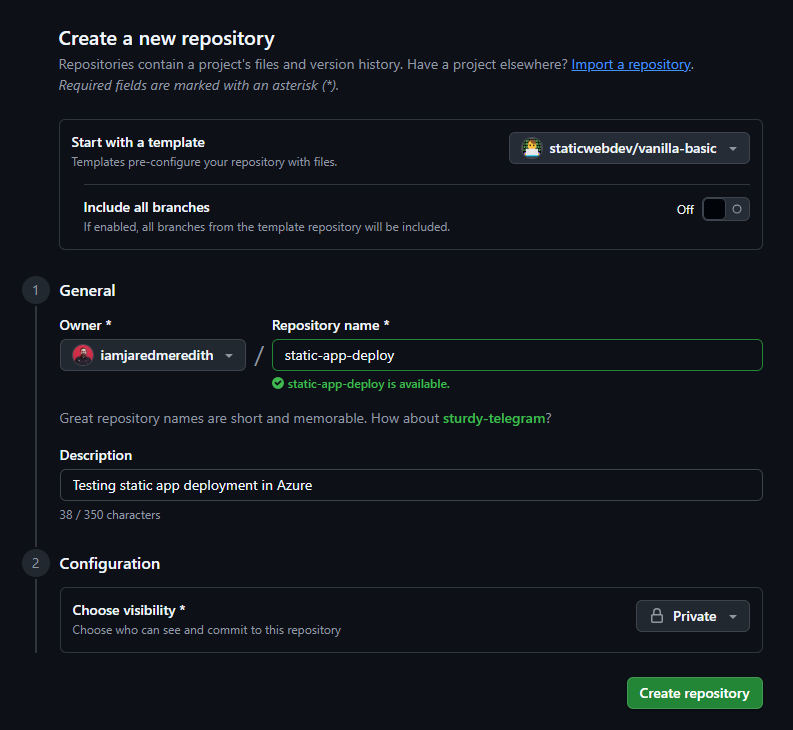
And boom, just like that a repo with stuff:

But what to do now? Well so far we now have code, but still need a destination and a means to deploy it.
For a destination let’s go onward to Azure:
- Go to the Azure portal and sign-in
- Select Create a Resource.

- Search for Static Web Apps.
- Select Static Web Apps.
- Select Create.

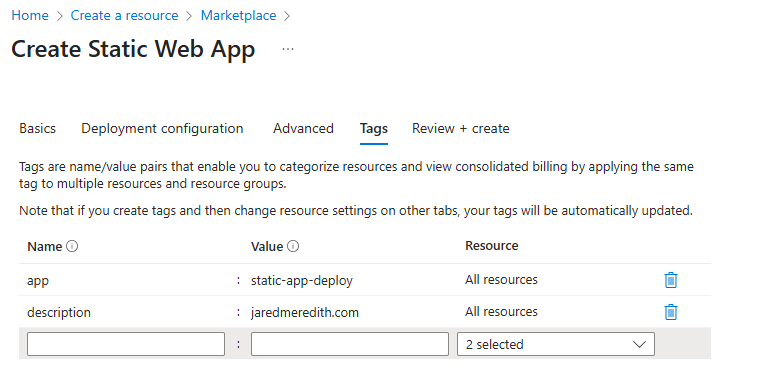
In the Basics section, begin by configuring your new app and linking it to a GitHub repository.
| Setting | Value |
|---|---|
| Subscription | Select your Azure subscription. |
| Resource Group | Select the Create new link, and enter rg-static-app-deploy in the textbox. |
| Name | Enter static-app-deploy in the textbox. |
| Plan type | Select Free. |
| Source | Select GitHub and sign in to GitHub if necessary. |

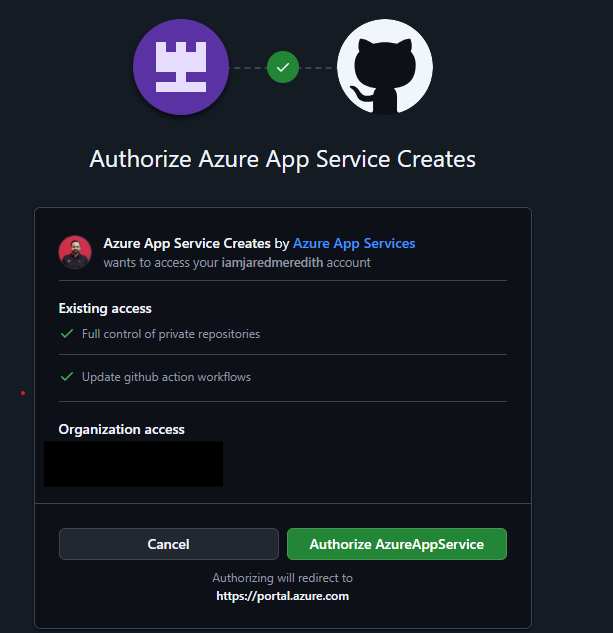
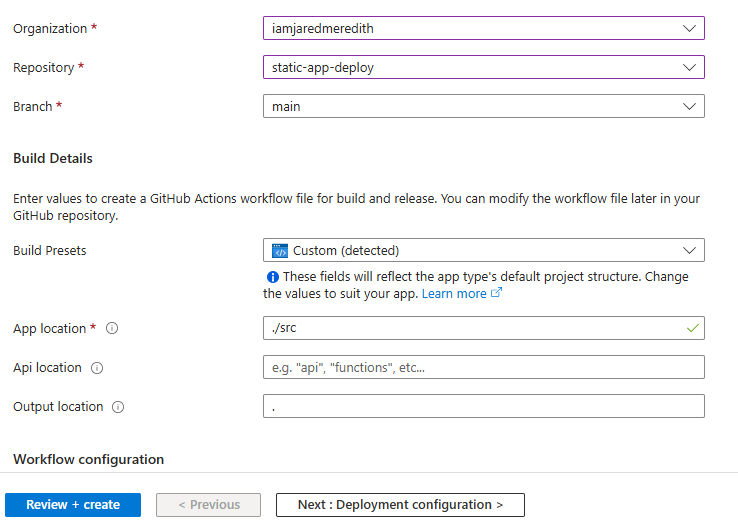
If necessary, sign in with GitHub, and enter the following repository information.
| Setting | Value |
|---|---|
| Organization | Select (your organization). |
| Repository | Select (your repo name). |
| Branch | Select (your branch e.g. main). |
Once you have completed the wizard then you should see a successful creation of your resource to deploy to. (there are CLI references for those who prefer that below).

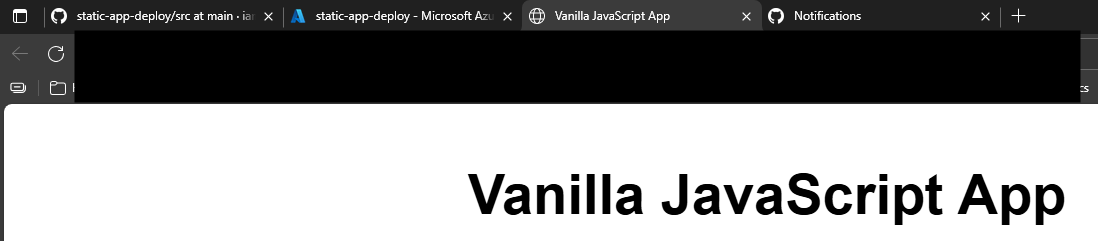
Your URL from the vanilla template should be live!
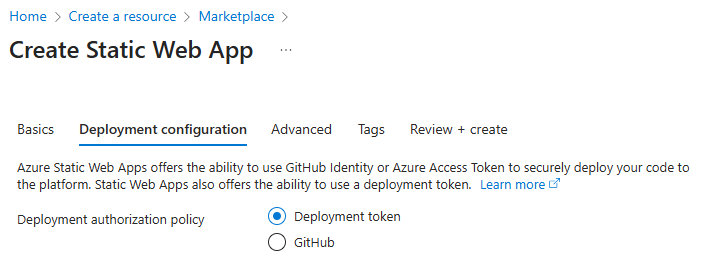
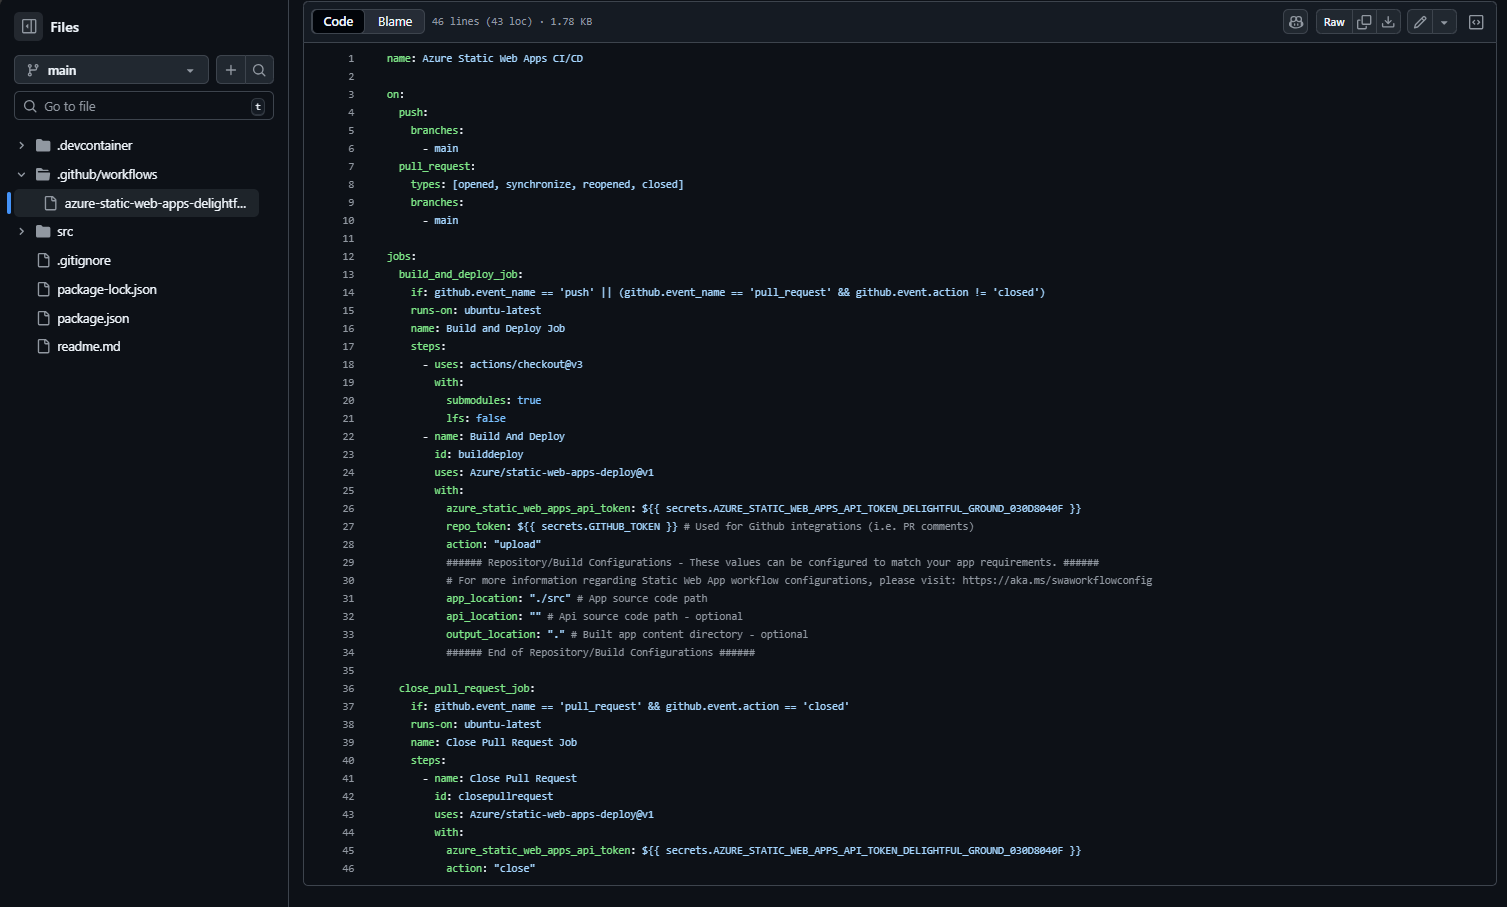
Within Github you can inspect the yaml that drove the deployment action (depending on what you pick for your token and deployment configuration this will vary):
You can also see where the secret is managed within Settings > Secrets and Variables > Actions:

Some extra credit -> want to add a custom domain to it?

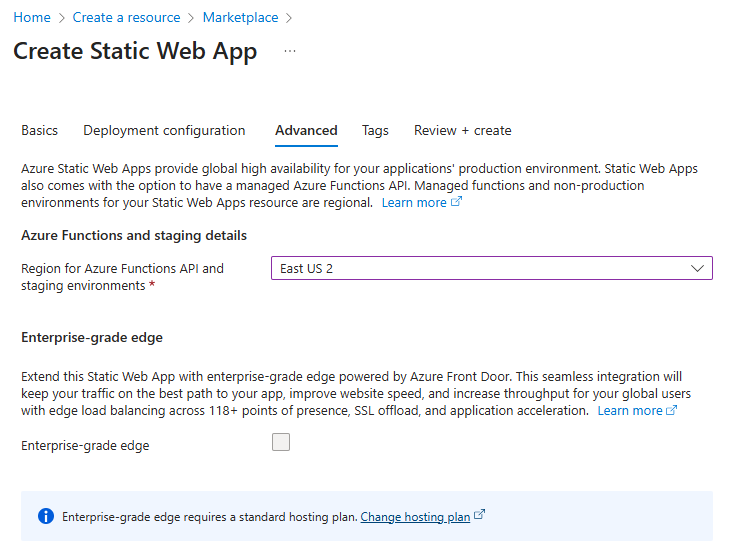
Additional extra credit -> you can also have the app be front-ended with Azure Front Door.
Finally, if you’re not going to continue to use this application, you can delete the Azure Static Web Apps instance through the following steps:
- Open the Azure portal.
- Search for static-app-deploy from the top search bar.
- Select the app name.
- Select Delete.
- Select Yes to confirm the delete action (this action may take a few moments to complete).
References:
- https://learn.microsoft.com/en-us/azure/static-web-apps/get-started-portal?tabs=vanilla-javascript&pivots=github
- https://learn.microsoft.com/en-us/azure/static-web-apps/static-web-apps-cli-deploy
- https://learn.microsoft.com/en-us/azure/static-web-apps/build-configuration?tabs=identity&pivots=github-actions
- https://learn.microsoft.com/en-us/answers/questions/4371521/static-web-app-custom-domain-ssl-certificate
- https://learn.microsoft.com/en-us/azure/static-web-apps/custom-domain
- https://learn.microsoft.com/en-us/azure/frontdoor/front-door-custom-domain-https?tabs=powershell
- https://learn.microsoft.com/en-us/azure/static-web-apps/deploy-web-framework?tabs=bash&pivots=vanilla-js
